
** Recipe updated October 2020 with additional tips and tricks for this amazing fall dessert.**
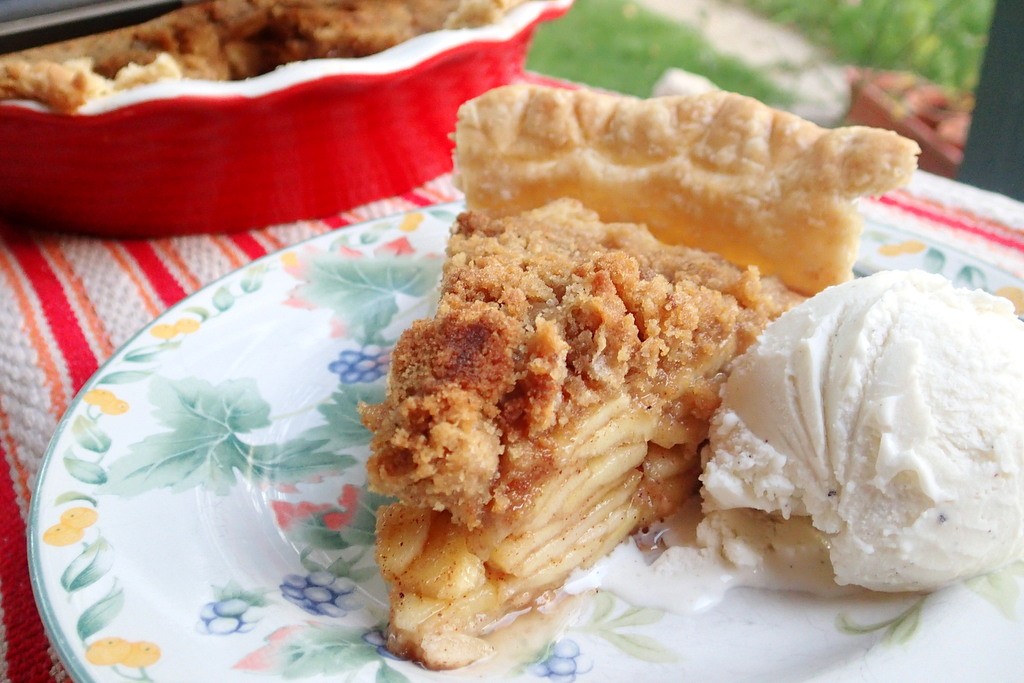
Jump to RecipeIf I had to rename fall, I think I would call it “Pie Season.” Pumpkin, apple, pecan, even pot pies. It really doesn’t matter what kind of pie; all of them call to me as the weather turns chill and the fear of turning on my oven dissipates. I blame their simply irresistible buttery flaky crusts.
This apple pie is the recipe I visit most when my annual-pie-love-affair rekindles. My mom started making it years ago when she received a bunch of recipe cards free with a magazine subscription. (I could have sworn it was Better Homes and Gardens, but have been unable to find this exact recipe in their archives.) I was smitten from the first bite I had of this pie and have never even had the inkling of a craving for a traditional double crust apple pie again.

This pie is a great candidate for our sneaky whole wheat crust, not because it “healthifies” it, but because it really does a good job of marrying the sweetness of the topping and the tartness of the apples. Plus, it helps me feel less guilty about eating it for breakfast. When we’re going for pure decadence, I use pastry flour in this all butter pie crust recipe. The recipe makes two pie crusts, so I’ll often make two fillings and freeze one crust and filling for later. Instructions for how to freeze the filling are included below.
Crumbly Apple Pie
Ingredients
- 1 Pie Crust Sneaky whole wheat or your favorite pie crust.
Filling
- 7-10 apples (depending on size) Can use a mix of apples or just one variety
- 1/2 Cup granulated sugar
- 1 tsp cinnamon
- 1/4 tsp nutmeg
- 1/4 tsp salt
- 3 TBSP tapioca flour Can substitute cornstarch if you don't have tapioca flour.
Topping
- 3/4 Cup brown sugar
- 3/4 Cup flour all purporse or whole wheat
- 1/2 tsp nutmeg
- 1/3 C butter
Instructions
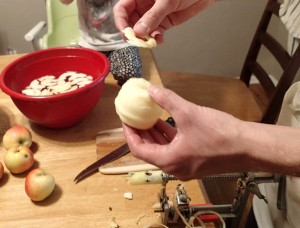
- Peel, core, and thinly slice those apples. (We used to have a peeler/corer/slicer that we got as a wedding gift works that worked amazingly for this, but now do it by hand and it isn’t that tedious.) Add the sugar, cinnamon, nutmeg, and salt. Don't add the tapioca flour yet. Stir and set to the side. We're going to let the apples sit and macerate (soften). You can let them sit for a few hours, or immediately move on to the next step.
- Prepare pie crust and slip into the fridge until you’re ready for it. (Check out this video for some fun ideas on finishing your edges.)
- Mix topping ingredients in a food processor until it is a sand consistency that clumps together when you gently squeeze in your hand. (Alternatively, you can use a pastry blender or two knives, cutting until the butter is pea sized and the mixture resembles small crumbs.)
- Preheat oven to 400° F. Wait for the oven to get up to temperature and then assemble the pie.
- Mix the 3 Tablespoons of tapioca flour into the apple mixture. Spoon the apple mixture into the chilled pie crust including all the juices.

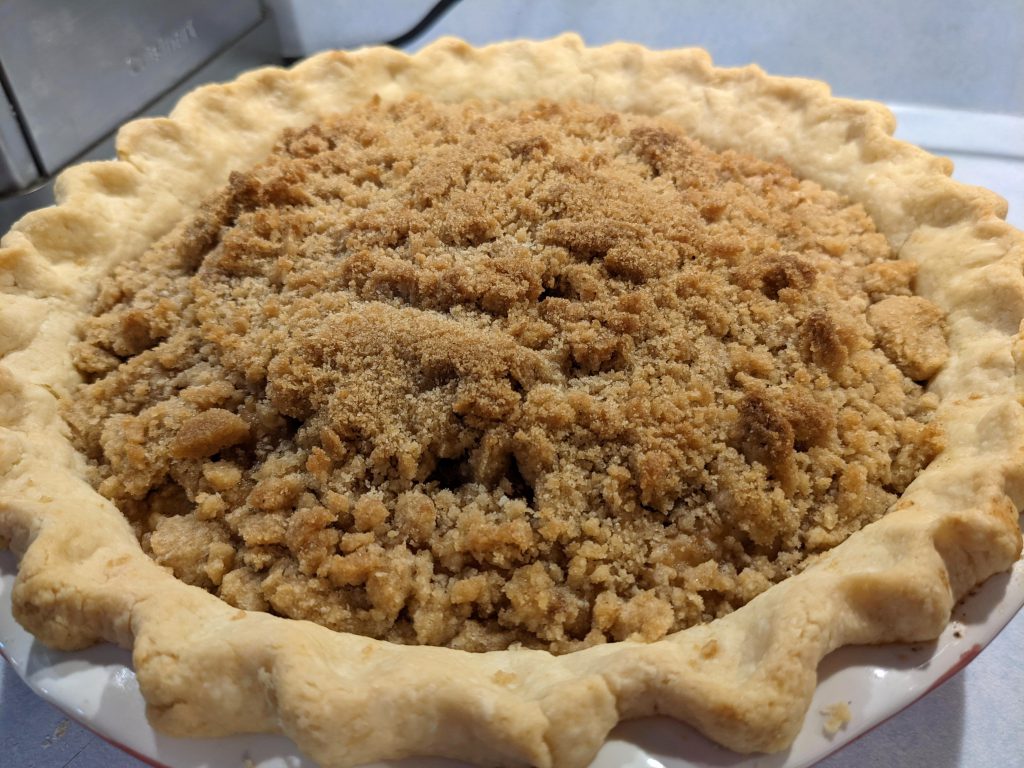
- Scoop up a handful of the topping. Squeeze gently in your hand and then crumble it on top of the apples. Repeat with all the topping ingredients.
- Cover the pie gently with foil and put in the oven. (You can place the pie on top of a baking tray if you're worried about juices boiling over into the oven.) Bake for 20 minutes.
- Remove foil and cook pie for another 20-25 minutes until the crust has begun to just be golden and when nudged you don't see liquid sloshing around inside the pie.
- Remove the pie from the oven and allow to sit untouched until it has cooled to room temperature. Ideally, you should allow the pie to cool fully so the filling can thicken, but if you don't have the self-control and dig in sooner, the pie will just be a little liquidy.
Freezing the Pie for Later
- To freeze the pie for later, mix all the filling ingredients. Line a pie pan with plastic wrap, fill with the filling, and put in the freezer for an hour.
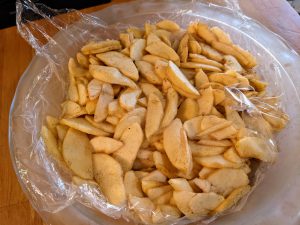
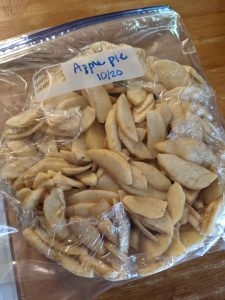
- After an hour, lift the filling out of the pie tin, wrap in plastic wrap, place in a zip-top bag and put back in the freezer.
- You can also freeze the pie crust by shaping it into a disc, wrapping it in plastic wrap, and putting it inside a plastic bag.
- When you're ready to make your pie, remove the pie crust the day before and move to the fridge to thaw. Roll out the next day and insert the frozen pie filling into the crust. Make the topping and follow the instructions for baking, adding a few extra minutes to the bake time.


Leave a Reply